Codex App
Install and configure Mole API as the model provider in the Codex App. Sign in with your API Key and edit config.toml to get started.
Overview
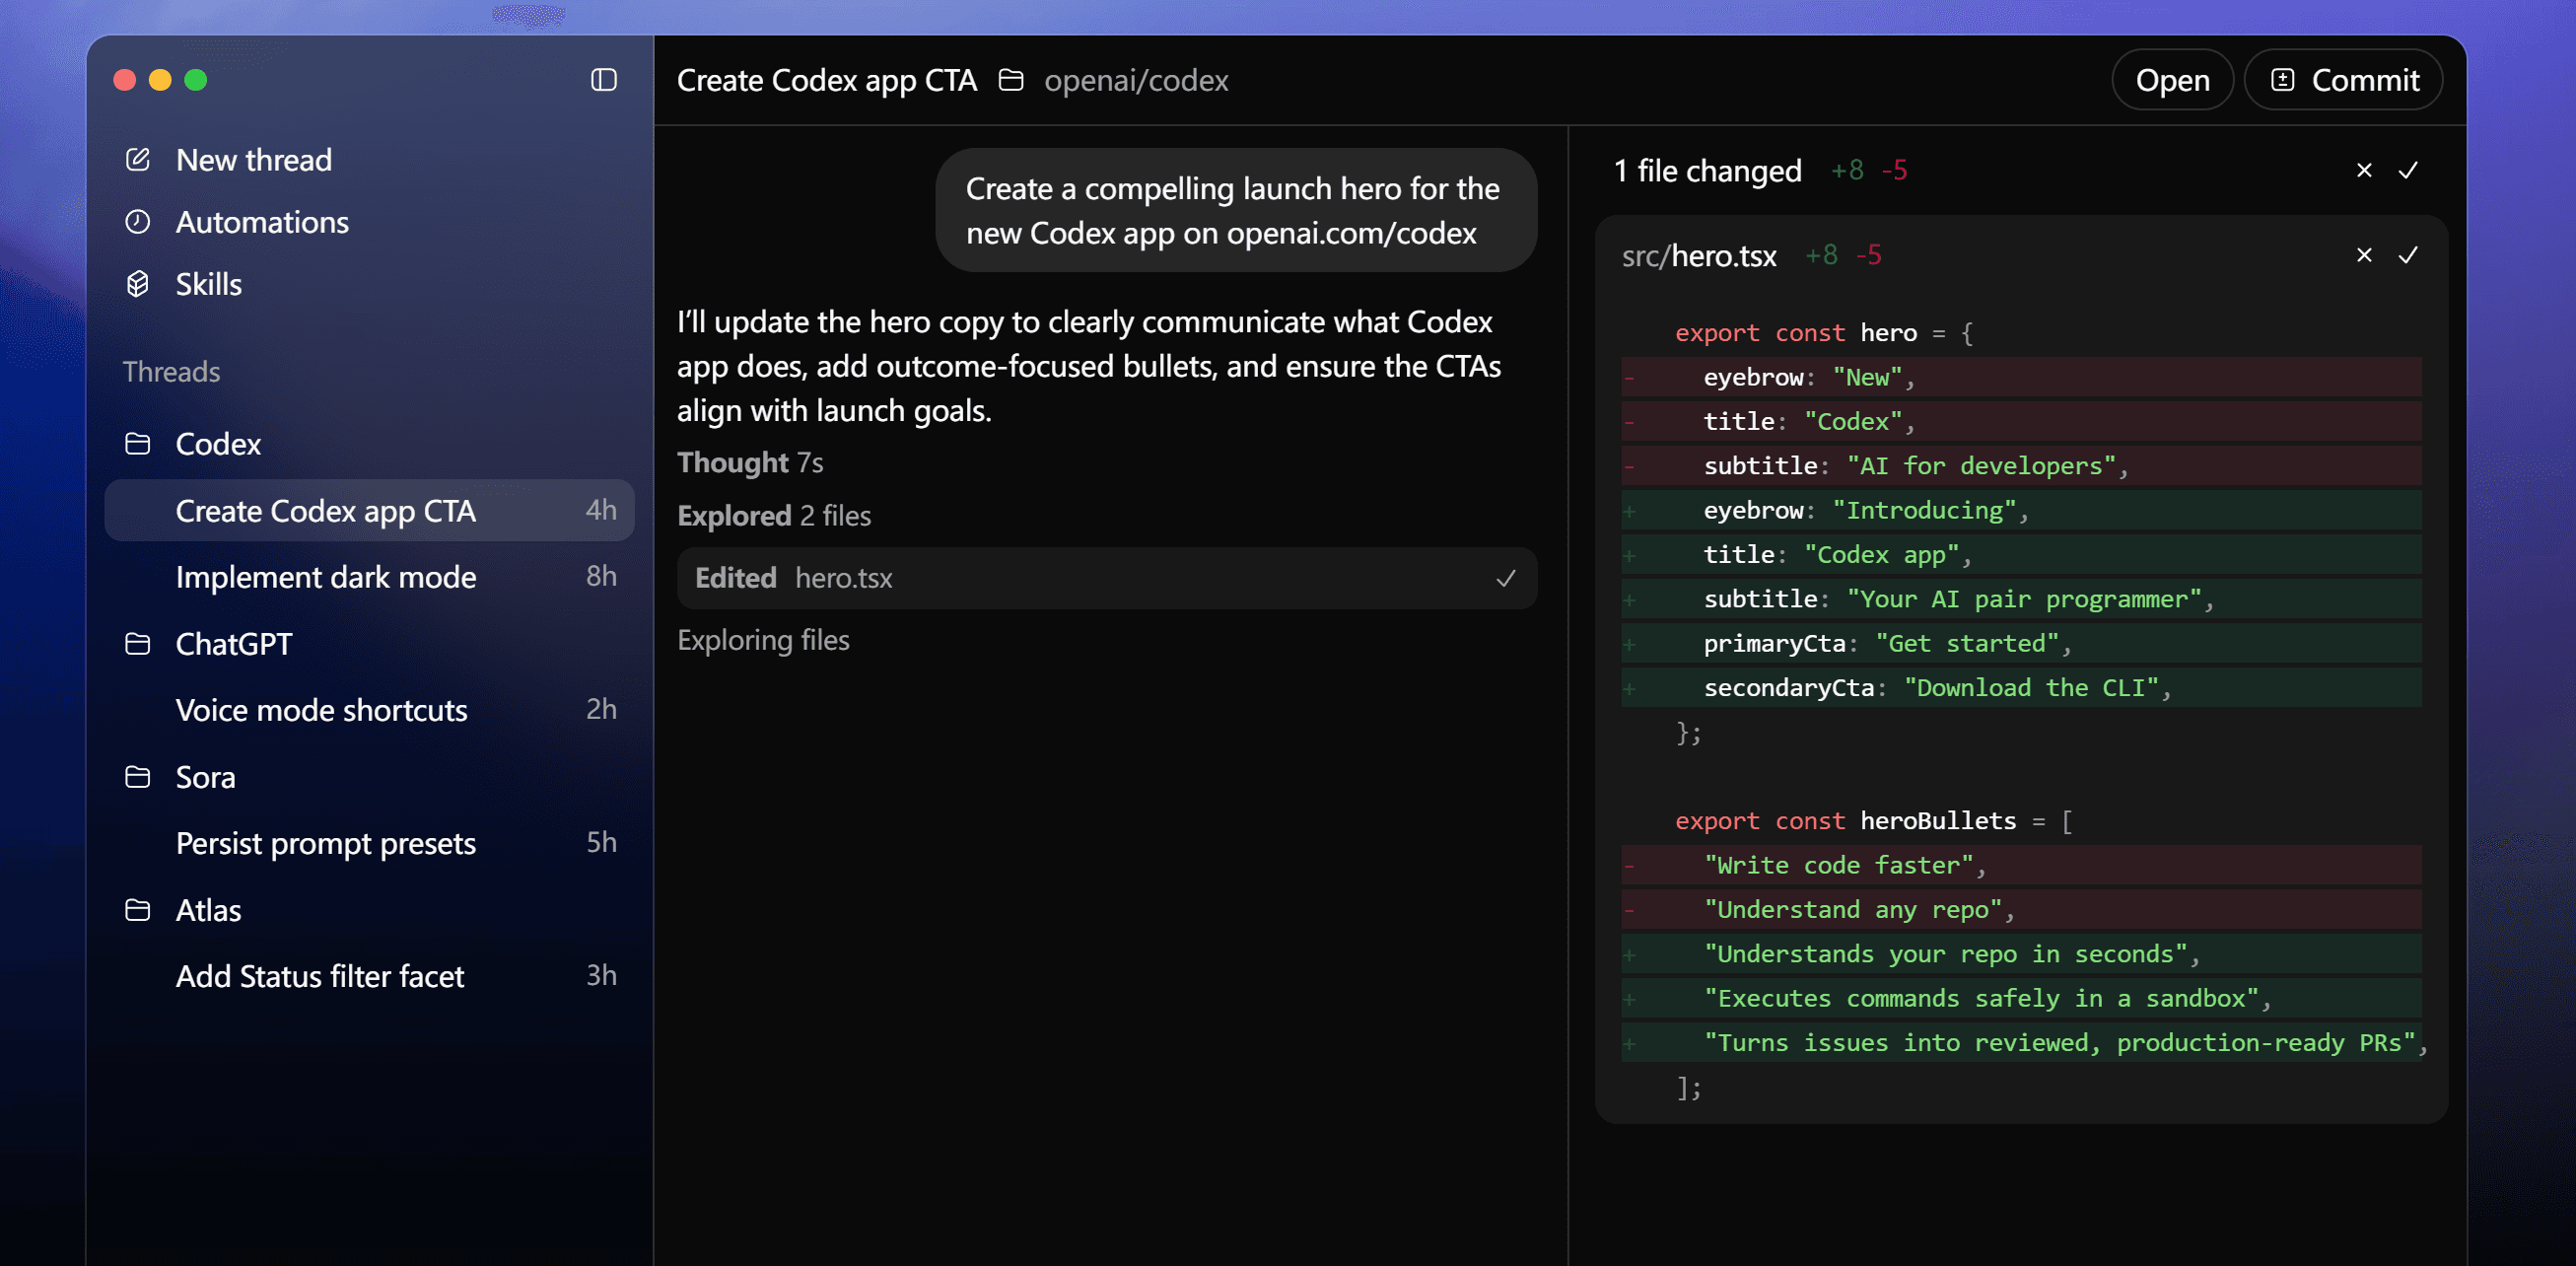
Codex App is the desktop client for Codex, providing the same AI chat and coding assistance capabilities as the Codex extension in VS Code. You can chat, use code completion, and get explanations directly in the standalone app without opening an editor. By configuring Mole API as the model provider, you can use unified key and usage management.
- Official site and download: https://openai.com/codex
Use Cases
- You use Codex App and want to access Codex chat and AI capabilities within it.
- You want to use Mole API as the model access point for Codex to centrally manage usage and keys.
Prerequisites
- You have obtained your API Key from the Mole API Console (generate and copy it from the Personal Center or Token Management page).
Step 1: Download and Install Codex
- Open your browser and visit the Codex official site: https://openai.com/codex.
- Follow the instructions on the page to download and install the Codex app.
After installation, launch the Codex app.
Step 2: Sign In with an API Key
- In the Codex app, choose the API Key sign-in/authentication method.
- Enter the API Key you obtained from the Mole API Console.

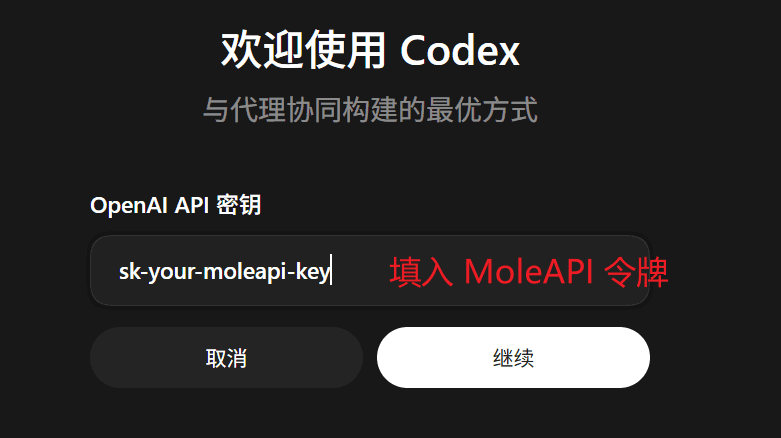
At this point, you have only entered the key. To make Codex actually send requests to Mole API, you also need to specify the model provider in the configuration.
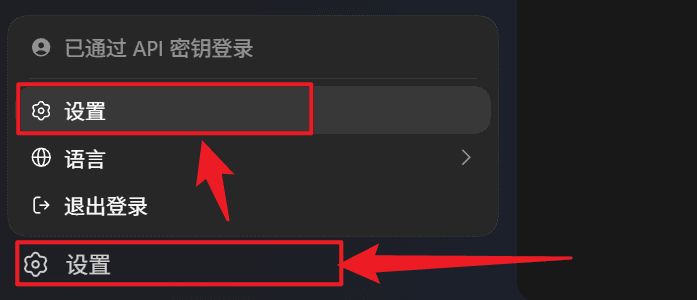
Step 3: Open Settings and Select the Configuration
- After signing in, open Settings → Settings.
- In Settings, select Configuration to open
config.toml.
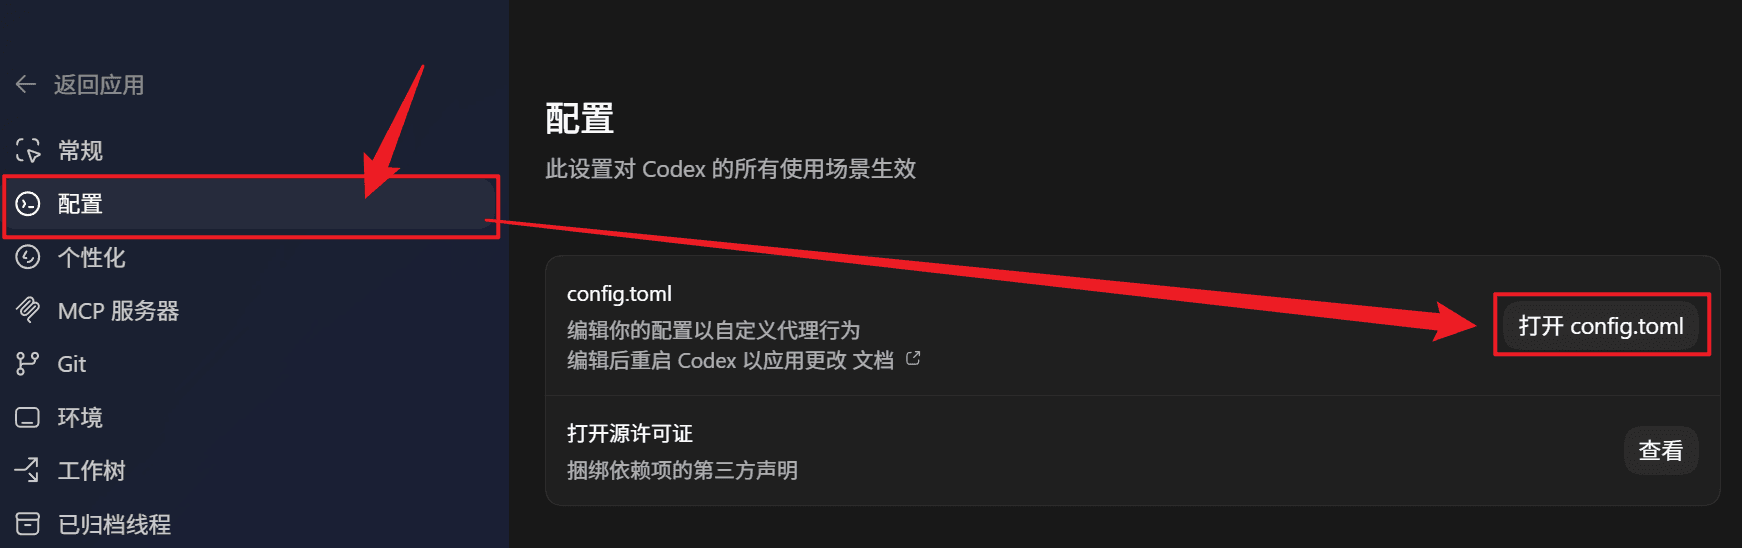
Step 4: Configure Mole API in config.toml
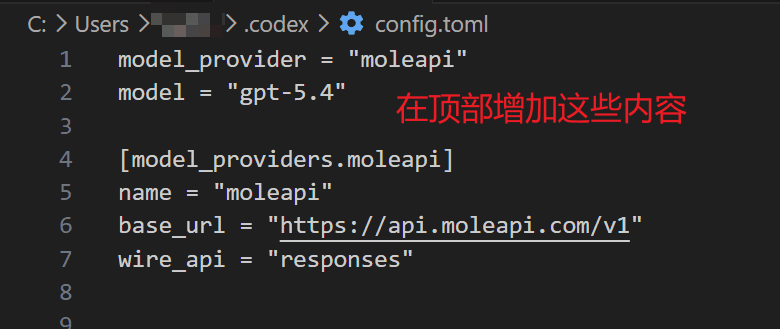
Add the following content to the opened config.toml:
model_provider = "moleapi"

[model_providers.moleapi]
name = "moleapi"
base_url = "https://api.moleapi.com/v1"
wire_api = "responses"
You can also add model = "the model you want to use from moleapi, for example claude-opus-4-6".
After saving config.toml, restart Codex for the configuration to take effect.
Step 5: Verify the Configuration
- Open Codex again and send a message in the input box (for example, "Hello").
- If Codex responds normally, and you can see the request record for the corresponding API Key in the Request Logs of the Mole API Console, then Mole API has been successfully configured as the model provider for Codex.
FAQ
No response or an error when sending messages
- Make sure
model_provider = "moleapi"and[model_providers.moleapi]inconfig.tomlare filled in correctly and saved. - Make sure base_url is
https://api.moleapi.com/v1. Do not omit/v1or append extra path segments. - Make sure the API Key you entered matches the one in the Mole API Console and has not expired. After changing the configuration, you must restart Codex.
Want to switch models or endpoints
You can manage available models and usage in the Mole API Console. If you need to change the endpoint or provider on the Codex side, update model_provider and the corresponding [model_providers.*] configuration in config.toml, then restart Codex.
References
How is this guide?
Last updated on
AI Applications
Supported AI applications and integration options
AionUi - Free and Open-Source Desktop Productivity Agent
AionUi Tutorial — A free, open-source desktop productivity Agent that supports Gemini CLI, Claude Code, Codex, and more AI agents. Connect to MoleAPI to enable multi-model workflows.